Projects
All of the projects that you create are displayed on the All Projects tab of My Workspaces. Projects are displayed in the form of folders.
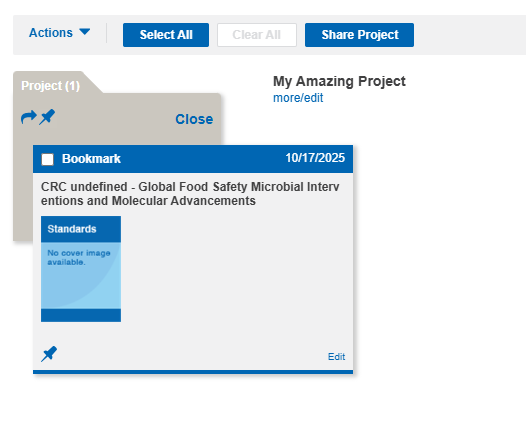
To work with a project, first click anywhere on the project folder to open it.
- To modify a project item, click Edit at the lower right of the item. You can change the title, the description, whether to display the project on the home page, and so on.
- To pin a project item on the dashboard click
 at the lower left of the item.
 - To filter the project items to display, under Filter by at the left, select one or more check boxes.
- To sort the items in your project, click the Sort by menu, and then click one of the following:
-
- Title
- Newest on the top
- Oldest on the top
- Last modified by me
- To change the number of project items that are shown, click a number next to Results per page. To view more pages of project items, use the page navigator at the bottom of the page:

Pin to Dashboard
Projects that are pinned will show a blue pin, unpinned projects will show a grayed out version of that icon. To add or remove simply click the pin icon.
Sharing project items with other users
To share project items
- Do one of the following:
-
- Select the lists that you want to share with other users by clicking the check boxes at the top of the lists, and then click Share Project.
- Click
 on a project folder that you want to share.
- On the Share This... dialog box, choose the settings that you want.
- Click Apply.
Copying or moving project items
To copy or move project items to another location
- Select the items that you want to copy or move by clicking the check boxes at the top of the items.
- Click Actions > Copy or Actions > Move.
- From the drop-down menu, select where to copy or move the items.
- Click Copy or Move.
Exporting project items to a file
To export project items to a file
- To select the items that you want to export to a file, click the check boxes at the top of the items.
- Click Actions > Export.
- On the Export Results dialog box under Export to, click the file format that you want to use:
- Excel (.xlsx extension)
-
Click Export.
Sending project items to other users
You can send one or more project items such as bookmarks, saved queries, cause-effect models, etc., to other users via email.
To email project items
- To select the items that you want to send to one or more users, click the check boxes at the top of the items.
- Click Actions > Send.
- Complete the email form (From:, To:, Cc:, Subject:).
- Next to Encode as, click Excel (xlsx) or PDF to specify the format of the attachment that you are sending.
- (Optional) Under Message, type a message to recipients.
- Click Send.