Administrators can view a list of registered users by account ID, invite (and re-invite), or remove users from one or multiple accounts.
Navigation
-
In the Administration menu, under Manage Platform, click User Management.
-
Click the Manage Users button to launch the Platform Admin portal.
Invite Users
-
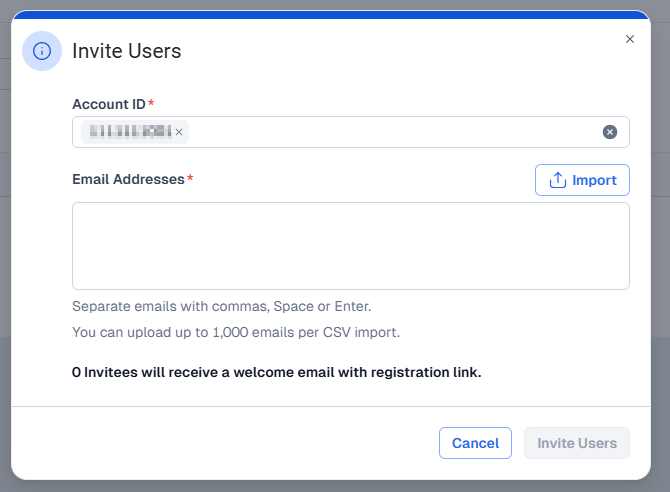
In the top right corner of either user table (User Management or Invitations), click the Invite Users button.
-
In the window that pops-up, enter one or more account ids and the emails where the invitations should be sent.
-
The invitation list may be imported as a .CSV (1,000 email maximum)
View Invitations and Re-invite
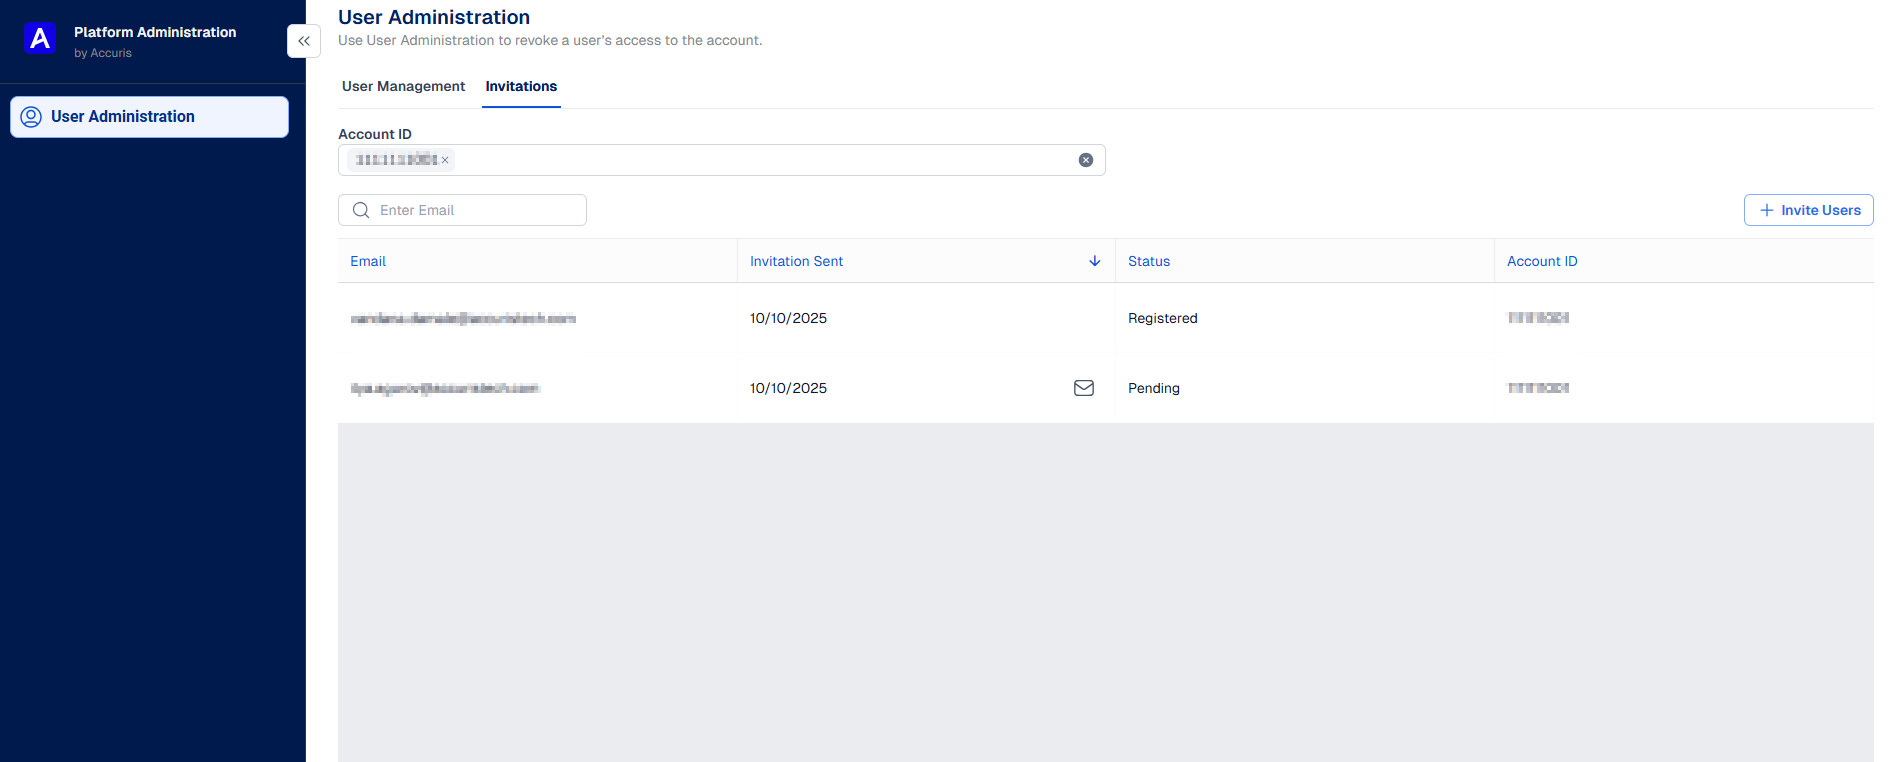
At the top of the page, click on the Invitations tab to view the status of welcome letters that have been sent to users.
-
In the Account ID field type or select the relevant account IDs.
-
Then, using the email search bar, or by sorting the list using any of the columns:
-
Email, Invitation Sent Date, Status (Registered or Pending), and Account ID
-
-
A closed envelope icon represents users who have been invited but have not yet registered. Click on the envelope icon to send another invitation email.
Remove Users
-
Follow the Navigation steps above to access the Platform Admin portal.
-
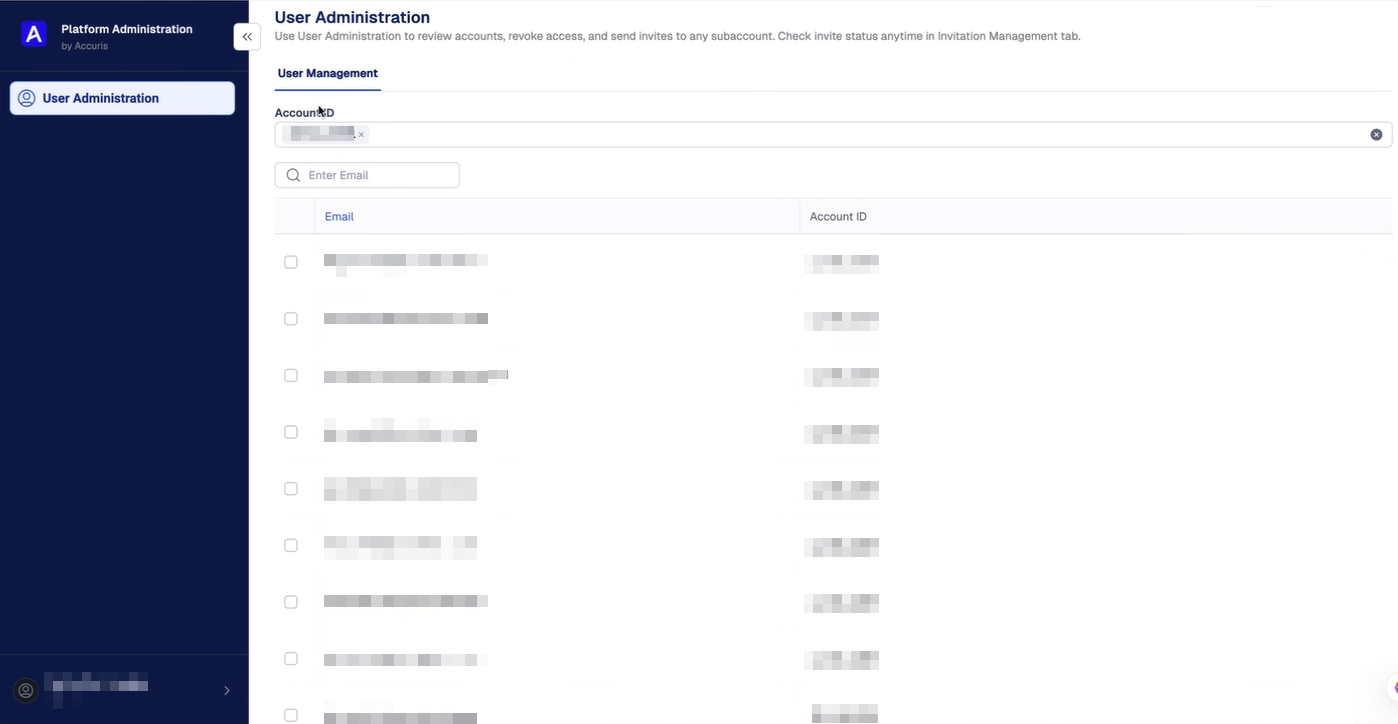
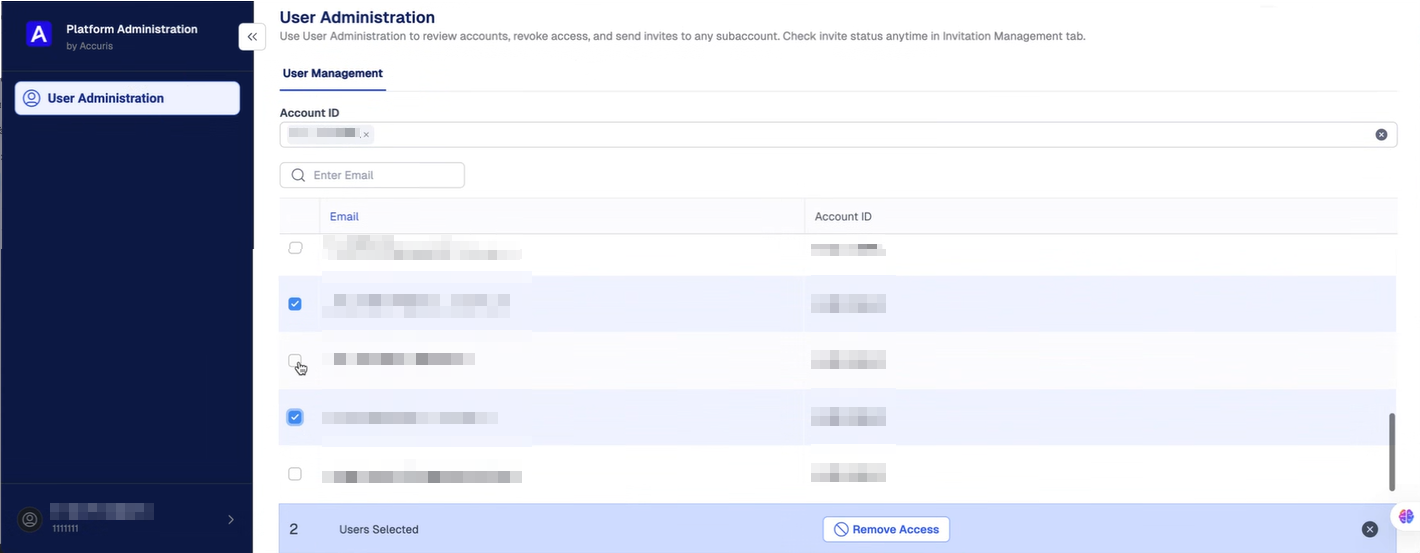
At the top of the page enter an Account ID(s) to display the list of users in that account.
-
Select one or more users by clicking the check box next to their email address.
Note: If you select more than one, the number of selections will appear at the bottom of the page.
-
Click the Remove Access button at the bottom of the account column.
-
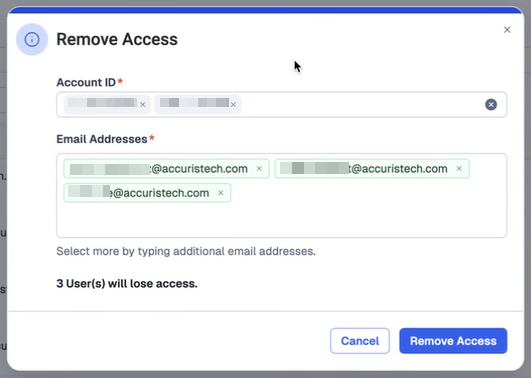
A confirmation window will appear. You have the option to add additional Account IDs to remove the user(s) from. Once you have reviewed the Account IDs and the email addresses, click Remove Access to finalize the process.